100W Solar Panel Kit for Camper Beginners: A Simple Guide
100W Solar Panel Kit for Camper Beginners: A Simple Guide
Understanding Your Energy Needs: The Foundation for Solar Success
Before diving headfirst into solar panels, it’s crucial to understand your energy consumption. This isn’t a guesstimate; it’s a calculated assessment of what your camper will demand. Begin by listing all the electrical devices you plan to use: lights (LED or incandescent), refrigerator (compressor or absorption), water pump, phone chargers, laptops, fans, TVs, and any specialized equipment like CPAP machines.
For each device, note its wattage (usually printed on the device or its power adapter). Then, estimate how many hours per day you’ll use each device. Multiply the wattage by the hours of use to get the watt-hours consumed per day by that specific device. Finally, sum up the watt-hours for all devices to determine your total daily energy consumption.
For example:
- LED Lights: 5W x 4 hours = 20 Wh
- Refrigerator (compressor type): 50W x 8 hours (cycling on/off) = 400 Wh
- Phone Charger: 5W x 2 hours = 10 Wh
- Water Pump: 30W x 0.5 hours (intermittent use) = 15 Wh
- Laptop: 60W x 2 hours = 120 Wh
Total Daily Consumption: 20 + 400 + 10 + 15 + 120 = 565 Wh
This “565 Wh” figure is your baseline. It indicates the minimum amount of energy your solar system needs to generate daily to meet your needs. Consider adding a buffer of 20-30% to account for cloudy days, system inefficiencies, and future energy demands. In this case, adding a 25% buffer brings the target up to approximately 706 Wh.
Why 100W? Assessing the Limitations and Benefits
A 100W solar panel isn’t a one-size-fits-all solution. It’s a good starting point for beginners due to its affordability and ease of installation. However, its power output is limited, making it suitable for basic energy needs.
A 100W panel, under ideal conditions (full sunlight, optimal panel angle, no shading), can produce around 5-6 amps of current at 12V. Assuming 5 hours of peak sunlight per day, this translates to approximately 25-30 amp-hours of energy production, or 300-360 watt-hours (12V x 25Ah = 300Wh).
Comparing this output to our estimated energy consumption (706 Wh), it’s clear that a single 100W panel might fall short. This means you might need to conserve energy aggressively, supplement with other charging methods (shore power, generator), or consider upgrading to a larger solar array in the future.
The benefits of a 100W kit are its compact size, making it suitable for smaller campers and easier to mount. It’s also a cost-effective way to learn the basics of solar power and determine if a more substantial system is necessary.
Choosing the Right 100W Solar Panel Kit: Key Components
A 100W solar panel kit typically includes:
-
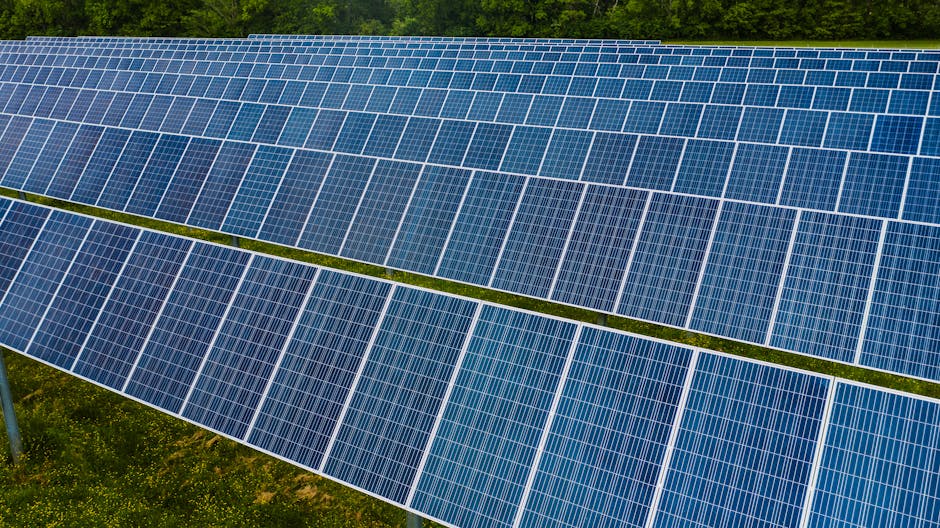
Solar Panel: The most important component. Look for panels with high efficiency (converting more sunlight into electricity) and durable construction (resistant to weather and physical damage). Polycrystalline panels are generally more affordable, while monocrystalline panels are more efficient and perform slightly better in low light.
-
Charge Controller: Regulates the voltage from the solar panel to prevent overcharging your battery. Two main types exist: PWM (Pulse Width Modulation) and MPPT (Maximum Power Point Tracking). MPPT controllers are more efficient and can extract more power from the panel, especially in suboptimal conditions. For a 100W system, an MPPT controller is generally recommended for the best performance.
-
Battery: Stores the energy generated by the solar panel. Deep-cycle batteries are designed for repeated charging and discharging, making them ideal for camper use. Common types include lead-acid (flooded, AGM, gel) and lithium-ion. Lithium-ion batteries are more expensive but offer higher energy density, longer lifespan, and faster charging. The size of your battery bank should be determined by your energy consumption. As a rough estimate, a 100Ah battery is a good starting point for a 100W solar panel, but adjust based on your specific needs.
-
Wiring and Connectors: Connect the solar panel, charge controller, and battery. Use appropriately sized wiring (gauge) to handle the current without overheating. Look for UV-resistant and waterproof cables and connectors. MC4 connectors are commonly used for connecting solar panels.
-
Mounting Hardware: Attaches the solar panel to your camper roof. Choose a mounting system that is compatible with your roof type and provides secure and stable attachment. Options include Z-brackets, tilt mounts, and flexible adhesive mounts.
Installation: A Step-by-Step Guide for Beginners
-
Safety First: Disconnect your camper’s battery before starting any electrical work. Wear appropriate safety gear, including gloves and eye protection.
-
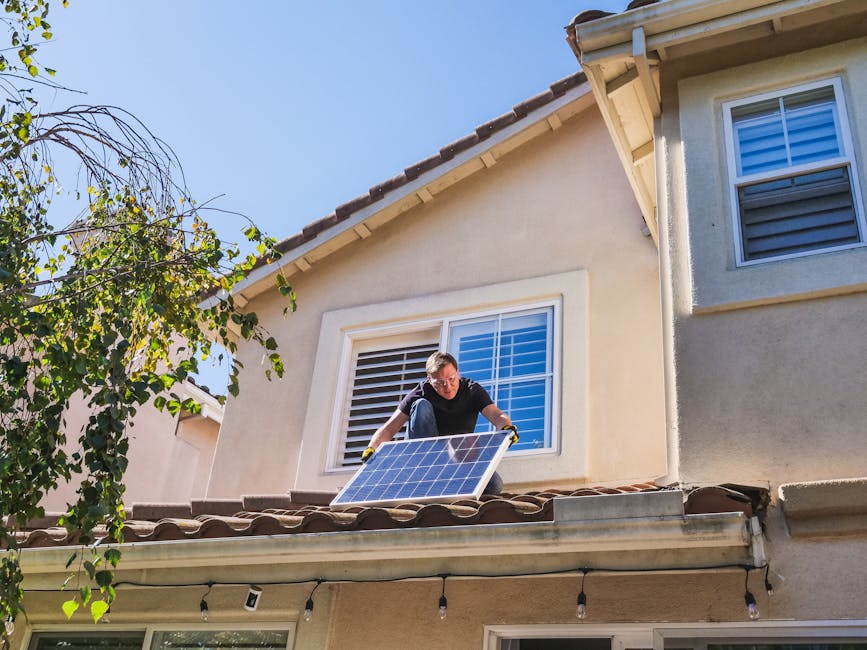
Mounting the Solar Panel: Choose a location on your roof that receives maximum sunlight throughout the day, avoiding shading from trees or other obstructions. Securely attach the mounting hardware to your roof, following the manufacturer’s instructions. Use a sealant to prevent water leaks.
-
Wiring: Connect the solar panel to the charge controller using appropriately sized wiring and MC4 connectors. Ensure correct polarity (positive to positive, negative to negative).
-
Connecting the Charge Controller: Connect the charge controller to the battery, again ensuring correct polarity.
-
Programming the Charge Controller: Follow the charge controller’s instructions to program it for your battery type and voltage. Proper programming is crucial for battery health.
-
Testing: Reconnect your camper’s battery and test the system. Monitor the voltage and current readings on the charge controller to ensure everything is working correctly.
Troubleshooting: Common Issues and Solutions
-
No Power Output: Check all wiring connections for looseness or corrosion. Ensure the solar panel is receiving adequate sunlight. Test the solar panel output with a multimeter.
-
Low Power Output: Check for shading on the solar panel. Clean the panel surface of dirt and debris. Verify the charge controller settings are correct.
-
Battery Not Charging: Check the charge controller settings and wiring connections. Ensure the battery is not already fully charged. Test the battery voltage and condition.
-
Charge Controller Error Codes: Consult the charge controller’s manual to understand the error code and troubleshoot accordingly.
Maintenance: Keeping Your System Running Smoothly
-
Regular Cleaning: Clean the solar panel surface regularly with a soft cloth and mild soap to remove dirt and debris.
-
Wiring Inspections: Periodically inspect the wiring connections for looseness or corrosion. Tighten or replace connections as needed.
-
Battery Maintenance: Check the battery’s electrolyte levels (for flooded lead-acid batteries) and add distilled water as needed. Keep the battery terminals clean and corrosion-free.
-
Performance Monitoring: Monitor the system’s performance regularly to identify any potential issues early on. Pay attention to voltage and current readings on the charge controller.
This guide provides a foundational understanding of installing a 100W solar panel kit for camper beginners. Remember to consult professional resources and manufacturer instructions for specific details related to your chosen components. Embrace the learning process and enjoy the freedom and sustainability that solar power offers.