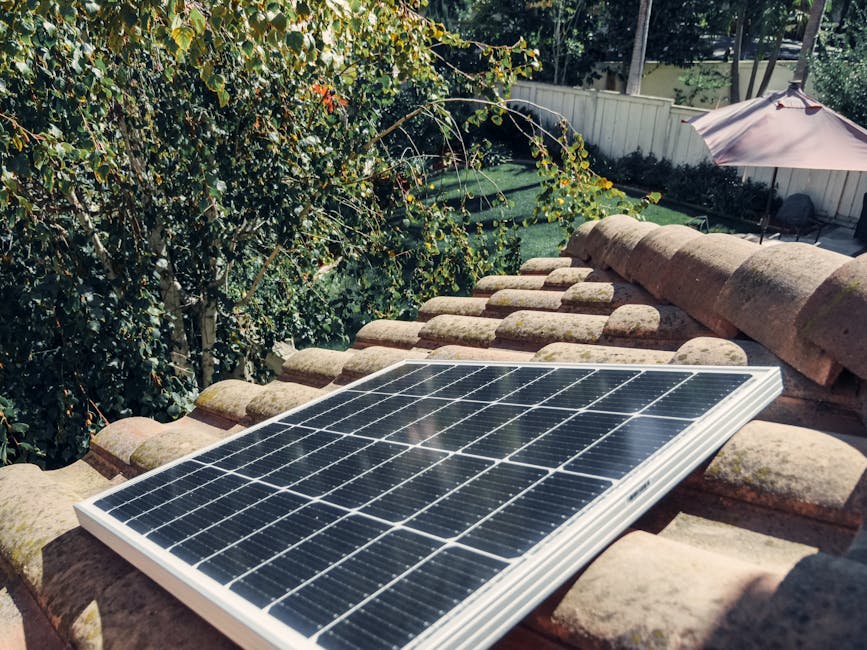
Solar Charge Controller for Camper Setup
Solar Charge Controller for Camper Setup: The Essential Component for Off-Grid Power
Successfully integrating solar power into your campervan or RV requires more than just solar panels and batteries. At the heart of a reliable and efficient off-grid system lies the solar charge controller. This critical component acts as a regulator, managing the flow of electricity from your solar panels to your batteries, protecting them from overcharging and maximizing the energy harvested from the sun. Choosing the right charge controller is paramount to the longevity and performance of your entire solar setup.
Understanding the Core Functionality: Protecting Your Batteries
The primary function of a solar charge controller is to prevent battery overcharge. Solar panels produce variable voltage depending on sunlight intensity. Without a charge controller, this unregulated voltage would continuously pump electricity into the batteries, eventually leading to overheating, gassing, and irreversible damage. The controller acts as a gatekeeper, constantly monitoring the battery voltage and adjusting the charging current accordingly. Once the batteries reach their fully charged state, the controller reduces or completely cuts off the flow of power, maintaining a safe and optimal charging level. This significantly extends the lifespan of your batteries and prevents costly replacements.
Two Dominant Technologies: PWM vs. MPPT
The market offers two primary types of solar charge controllers: Pulse Width Modulation (PWM) and Maximum Power Point Tracking (MPPT). Understanding the differences between these technologies is crucial for making an informed decision based on your specific needs and budget.
-
PWM (Pulse Width Modulation): PWM controllers are the simpler and more affordable option. They operate by directly connecting the solar panel to the battery. When the battery needs charging, the controller creates a direct connection, and when the battery is full, it rapidly switches on and off, modulating the pulse width of the current to maintain the correct voltage. This on/off switching action gives PWM controllers their name.
-
Advantages of PWM:
- Lower cost, making them budget-friendly for smaller systems.
- Simpler design, resulting in higher reliability in some cases.
- Suitable for small solar panel arrays where the panel voltage closely matches the battery voltage (e.g., 12V panel to a 12V battery).
-
Disadvantages of PWM:
- Less efficient, typically around 70-80%. Energy is lost due to voltage mismatch between the panel and the battery.
- Requires the solar panel voltage to be very close to the battery voltage, limiting flexibility in panel selection.
- Not suitable for higher voltage panels (e.g., those designed for grid-tie systems) without significant energy loss.
-
-
MPPT (Maximum Power Point Tracking): MPPT controllers are significantly more advanced and offer substantially improved efficiency. They utilize a sophisticated algorithm to constantly track the maximum power point (MPP) of the solar panel. The MPP is the point on the voltage-current curve where the panel produces the most power. MPPT controllers convert the higher voltage from the solar panel down to the battery voltage while increasing the current, allowing you to utilize the full potential of your solar array.
-
Advantages of MPPT:
- Higher efficiency, typically ranging from 90-98%. This means more power is harvested from the same solar panels.
- Can handle higher voltage solar panels, providing greater flexibility in panel selection. Enables the use of cost-effective grid-tie panels.
- Operates effectively even in partially shaded conditions.
- Optimizes power output, particularly in colder climates.
-
Disadvantages of MPPT:
- Higher cost compared to PWM controllers.
- More complex design, potentially increasing the risk of failure (though modern MPPT controllers are generally reliable).
- May require more space due to their larger size and heat sinks.
-
Selecting the Right Controller: Key Considerations
Choosing the appropriate solar charge controller requires careful consideration of several factors related to your camper’s electrical system and your power needs.
-
Battery Voltage: Ensure the charge controller is compatible with your battery voltage (e.g., 12V, 24V, or 48V). Most camper setups use 12V batteries, but larger systems may utilize higher voltages.
-
Solar Panel Voltage (Voc – Open Circuit Voltage): The open-circuit voltage (Voc) is the voltage produced by the solar panel when it is not connected to a load. The charge controller must be rated to handle the Voc of your solar panel array. Exceeding the controller’s Voc rating can damage the unit. For MPPT controllers, the panel voltage should typically be significantly higher than the battery voltage for optimal performance.
-
Solar Panel Current (Imp – Maximum Power Current): The maximum power current (Imp) is the current produced by the solar panel at its maximum power point. The charge controller must be rated to handle the total Imp of your solar panel array. Adding up the Imp of each panel in parallel will give you the total Imp.
-
Battery Type: Different battery types (e.g., lead-acid, AGM, gel, lithium-ion) require different charging profiles. Ensure the charge controller supports your specific battery type and allows you to adjust the charging parameters accordingly. Many modern controllers offer pre-set charging profiles for various battery chemistries.
-
Controller Amperage Rating: The amperage rating of the charge controller determines the maximum current it can handle. It must be sufficient to handle the total current output from your solar panel array. As a rule of thumb, multiply the total Imp of your solar panels by a safety factor of 1.25 to determine the minimum amperage rating required.
-
System Size and Power Needs: Consider your overall power consumption and the size of your solar array. If you have a small system and a tight budget, a PWM controller might suffice. However, for larger systems with higher power demands and the desire for maximum efficiency, an MPPT controller is the superior choice.
-
Features and Functionality: Look for features that enhance the controller’s performance and usability. These might include:
- LCD Display: Provides real-time information about voltage, current, and charging status.
- Remote Monitoring: Allows you to monitor the system remotely via Bluetooth or Wi-Fi.
- Temperature Compensation: Adjusts the charging voltage based on battery temperature to optimize charging performance.
- Load Output: Provides a regulated DC output for powering low-voltage devices.
- Protection Features: Overload protection, short-circuit protection, reverse polarity protection, and over-temperature protection.
Installation and Wiring Considerations
Proper installation and wiring are crucial for the safe and efficient operation of your solar charge controller. Always consult the manufacturer’s instructions for specific wiring diagrams and recommendations.
- Placement: Mount the charge controller in a cool, dry, and well-ventilated location. Avoid direct sunlight and moisture.
- Wire Size: Use appropriately sized wiring to handle the current flow. Refer to wiring charts and local electrical codes to determine the correct wire gauge. Undersized wiring can lead to voltage drop and overheating.
- Fuses and Circuit Breakers: Install fuses or circuit breakers on both the solar panel input and the battery output to protect the system from overcurrents.
- Polarity: Pay close attention to polarity when connecting the wires. Incorrect polarity can damage the charge controller and other components.
- Grounding: Properly ground the charge controller and the solar panel frame to ensure safety and prevent electrical hazards.
- Wiring Sequence: Generally, connect the battery to the charge controller first, then connect the solar panels. Disconnect in the reverse order.
Troubleshooting Common Issues
Even with proper installation, occasional issues may arise. Here are some common problems and potential solutions:
- No Output: Check the wiring connections, fuses, and circuit breakers. Ensure the solar panels are producing voltage. Verify the battery voltage is within the controller’s operating range.
- Low Output: Check for shading on the solar panels. Ensure the solar panels are clean. Verify the wiring connections are secure and the wire size is adequate. Check the battery voltage and state of charge.
- Overcharging: Ensure the charge controller is set to the correct battery type and charging profile. Check the voltage settings on the controller. Inspect the battery for signs of damage or sulfation.
- Error Codes: Consult the charge controller’s manual to interpret any error codes displayed.
Conclusion
Selecting the right solar charge controller for your camper setup is a critical decision that directly impacts the efficiency, reliability, and longevity of your entire off-grid power system. By understanding the differences between PWM and MPPT controllers, considering your specific power needs and budget, and carefully following installation guidelines, you can ensure that you harness the sun’s energy effectively and enjoy a comfortable and sustainable off-grid experience.
