Step-by-step solar panel install on van roof
Van Life Power Up: A Comprehensive Guide to Solar Panel Installation
Planning & Preparation: Laying the Foundation for Success
The cornerstone of any successful solar panel installation on a van roof lies in meticulous planning. Rushing into the process without proper preparation can lead to costly mistakes and inefficient power generation. The initial stage involves assessing your energy needs, selecting the appropriate solar panel system components, and gathering the necessary tools.
-
Calculate Your Energy Needs: Quantify your daily power consumption by listing all electronic devices you intend to use, including laptops, refrigerators, lights, phone chargers, and any other appliances. Determine their wattage and average daily usage hours. Multiply wattage by usage hours to get watt-hours per day for each device. Sum these watt-hours to find your total daily energy consumption. This figure will dictate the size of your solar panel system and battery bank.
-
Solar Panel Selection: Choose solar panels based on wattage, voltage, size, and efficiency. Monocrystalline panels are typically more efficient and perform better in low-light conditions, making them ideal for van roofs with limited space. Consider the panel’s dimensions and weight to ensure it fits comfortably on your roof without exceeding weight limits. Renogy, Rich Solar, and HQST are reputable brands known for quality and performance. Aim for a total wattage that exceeds your daily energy consumption by at least 25% to account for cloudy days and system inefficiencies.
-
Charge Controller Selection: The charge controller regulates the voltage from the solar panels to safely charge your battery bank. There are two main types: PWM (Pulse Width Modulation) and MPPT (Maximum Power Point Tracking). MPPT controllers are more efficient, especially in cooler climates or when panels are partially shaded, making them a worthwhile investment for van life. Choose a charge controller with an amperage rating that exceeds the maximum output current of your solar panel array. Victron Energy and Morningstar are premium brands recognized for their reliability.
-
Battery Bank Selection: The battery bank stores the solar energy generated for later use. Deep-cycle batteries, either lead-acid (AGM or GEL) or lithium-ion, are designed for repeated charging and discharging. Lithium-ion batteries offer superior performance in terms of lifespan, weight, and discharge depth, but they are more expensive. Choose a battery bank capacity that can store at least 2-3 days worth of your energy needs, providing a buffer for days with minimal sunlight. Consider the battery bank’s voltage and ensure it is compatible with your charge controller and inverter.
-
Inverter Selection: The inverter converts the DC power from the battery bank into AC power to run standard household appliances. Choose an inverter with a wattage rating that exceeds the total wattage of all the AC appliances you intend to run simultaneously. Pure sine wave inverters provide cleaner power and are recommended for sensitive electronic devices. Renogy and Go Power! offer reliable inverter options.
-
Wiring and Fuses: Use appropriately sized wiring based on the amperage of each circuit. Refer to a wiring gauge chart to ensure the wire can handle the current without overheating. Install fuses or circuit breakers to protect your system from short circuits and overloads. A fuse near the battery and a fuse near the solar panels are essential.
-
Mounting Hardware: Choose a robust mounting system designed specifically for van roofs. Options include adhesive mounts, bolted mounts, and rail systems. Adhesive mounts are easier to install but may not be as secure in extreme weather conditions. Bolted mounts offer greater security but require drilling holes in your roof. Rail systems provide flexibility for adjusting panel position and adding more panels in the future. Consider brands like AM Solar and Unistrut for sturdy mounting solutions.
-
Tools and Materials: Gather all the necessary tools, including a drill, screwdrivers, wire stripper, crimper, multimeter, tape measure, level, sealant (such as Dicor self-leveling sealant), and cleaning supplies. Have all wires, connectors, fuses, and mounting hardware readily available before starting the installation.
Step-by-Step Installation Process: From Roof Prep to Panel Placement
Once you have thoroughly planned and gathered all the necessary components, you can proceed with the installation process. This section outlines the step-by-step instructions for mounting solar panels on your van roof.
-
Roof Preparation: Clean the area of the roof where you will be installing the solar panels with a degreaser and isopropyl alcohol. Remove any dirt, grime, or residue that could interfere with the adhesion of the mounting brackets or the sealant. Ensure the surface is completely dry before proceeding.
-
Mounting Bracket Placement: Position the mounting brackets according to the solar panel manufacturer’s instructions. Use a tape measure and level to ensure accurate and even spacing. Mark the location of the brackets on the roof with a pencil or marker.
-
Adhesive Mounting (If Applicable): If using adhesive mounts, apply a generous amount of adhesive (such as Sikaflex 252 or 3M VHB tape) to the bottom of the brackets. Carefully position the brackets on the marked locations and press firmly to ensure a strong bond. Allow the adhesive to cure completely according to the manufacturer’s instructions, typically 24-48 hours.
-
Bolted Mounting (If Applicable): If using bolted mounts, drill pilot holes through the roof at the marked locations. Apply sealant to the holes before inserting the bolts to prevent water leaks. Secure the brackets to the roof with bolts, washers, and nuts. Tighten the bolts securely but avoid over-tightening, which could damage the roof.
-
Rail System Installation (If Applicable): If using a rail system, attach the rails to the roof using either adhesive or bolted mounts. Ensure the rails are level and securely fastened.
-
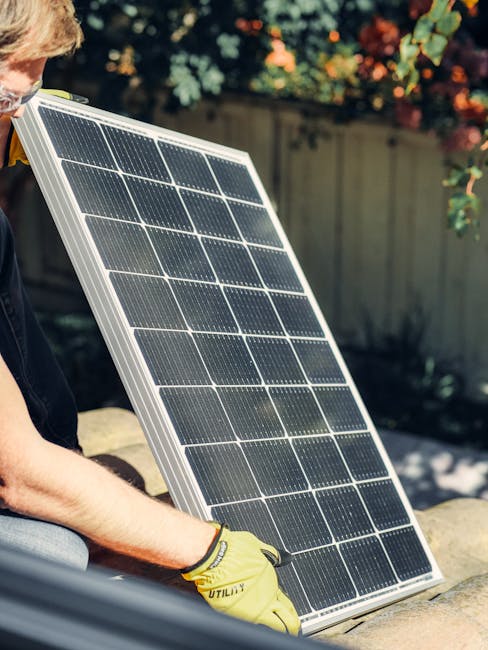
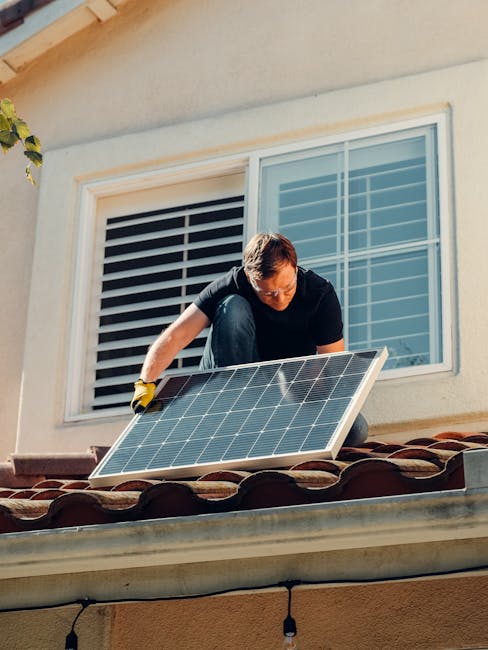
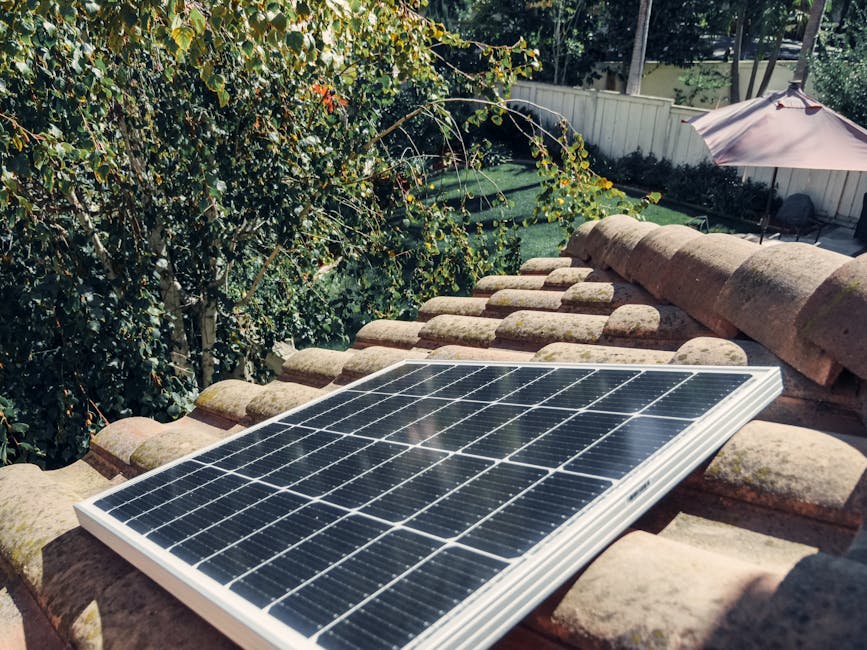
Solar Panel Mounting: Carefully lift the solar panel onto the mounting brackets or rails. Align the panel with the mounting points and secure it with bolts, clamps, or clips according to the mounting system’s instructions. Ensure the panel is securely fastened and cannot move or vibrate.
-
Wiring Connections: Connect the solar panel wiring to the charge controller. Use appropriately sized wire and connectors. Typically, you will need to connect the positive (+) and negative (-) wires from the solar panel to the corresponding terminals on the charge controller.
-
Charge Controller Installation: Mount the charge controller in a dry, well-ventilated location inside the van. Connect the charge controller to the battery bank, ensuring correct polarity. Connect the positive (+) and negative (-) wires from the charge controller to the corresponding terminals on the battery.
-
Inverter Installation: Mount the inverter in a convenient location near the battery bank. Connect the inverter to the battery bank, ensuring correct polarity. Connect the AC output of the inverter to an AC distribution panel or directly to your AC appliances.
-
Testing and Commissioning: Once all connections are made, test the system to ensure it is functioning correctly. Use a multimeter to check the voltage and current at various points in the system. Verify that the solar panel is generating power, the charge controller is regulating the voltage, and the inverter is providing AC power. Monitor the system’s performance over several days to ensure it is meeting your energy needs.
Safety Precautions and Best Practices:
- Work safely: Always wear safety glasses and gloves when working with electrical components.
- Disconnect power: Disconnect the battery bank before working on any electrical connections.
- Use proper wiring: Use appropriately sized wiring and connectors for all electrical connections.
- Protect wiring: Protect wiring from abrasion and damage by using conduit or cable sleeving.
- Proper grounding: Properly ground all electrical components to prevent electrical shock.
- Seal all penetrations: Seal all holes drilled in the roof to prevent water leaks.
- Monitor performance: Regularly monitor the system’s performance to identify and address any issues promptly.
By following these steps and adhering to safety precautions, you can successfully install solar panels on your van roof and enjoy the benefits of clean, renewable energy.